Tutorial 2 of 7
Plan a kitchen with walls, appliances and worktops
Beginner 15 min
Draw the room, add windows and doors, place appliances and cabinet runs that snap to the walls, and let Kerfwise generate worktops with sink and hob cut-outs.
In this tutorial you build an L-shaped kitchen from scratch. If you want to peek at the result first, open the L-shaped kitchen 3.6 × 3.0 m template.
1. Create the room
On the start screen choose Empty kitchen room (a 3.6 × 3.0 m room with 100 mm walls), or use Insert → Rectangular room… and type your own inner width and depth.
Walls can also be drawn by hand: press W, click the corners, and double-click (or press Esc) to finish. Wall ends snap to existing corners and lock to 0°/90° when you are close.
2. Windows and doors
Press N (window) or D (door) and click on a wall. Select the opening to set its offset from the wall start, width, height and sill height in the Properties panel, or drag it along the wall.
3. Place cabinets and appliances
In the Library (left), click Base cabinet and then click in the plan close to the back wall. The cabinet jumps to the wall, turns its back to it and faces the room. Place a Drawer bank next to it: it snaps to the side of the first cabinet.
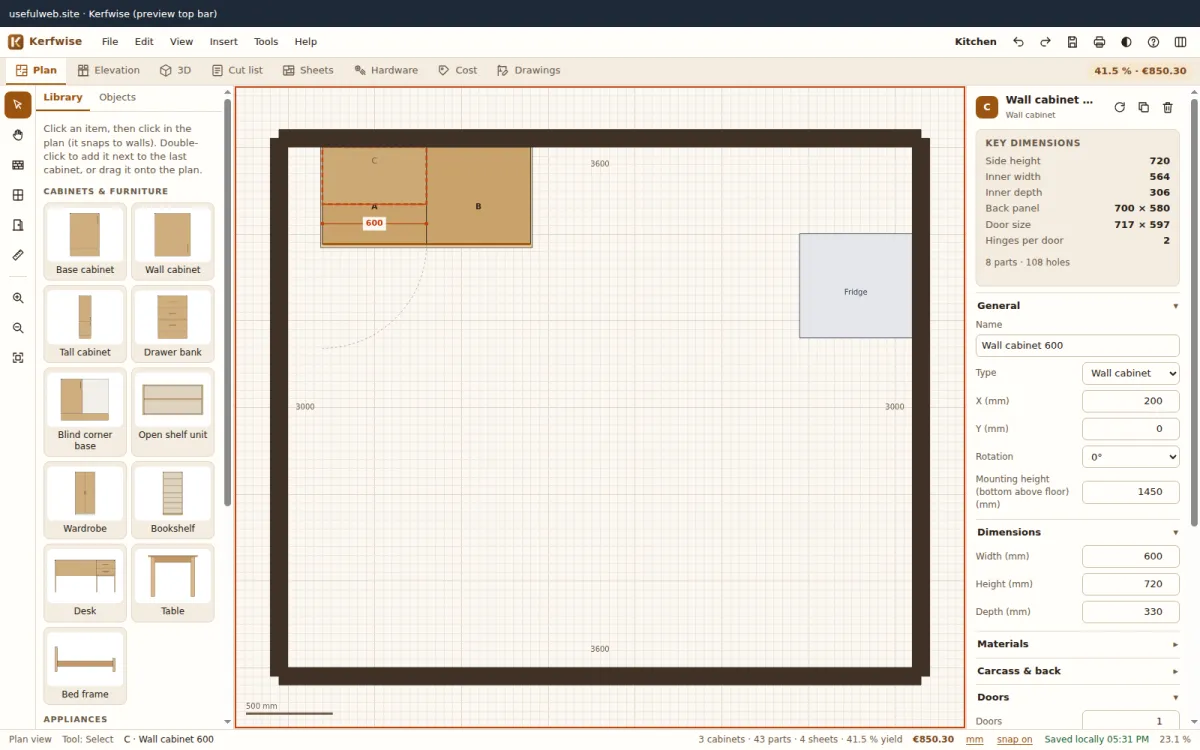
- Double-click a library item to add it next to the last cabinet of the same kind.
- Drag any cabinet: it snaps to the nearest wall within ~20 cm, to wall ends and to neighbours. Hold
Altwhile dragging to move freely. Rrotates by 90°, arrow keys nudge by the grid (Shift = ×10),Ctrl+Dduplicates next to the original.- Wall cabinets are drawn dashed; their Mounting height is 1450 mm by default.
- Appliances (fridge, range, dishwasher, washer, oven, hood) come from the same library.
4. Worktops
Base cabinets, drawer banks and blind corners get a worktop automatically (Properties → Worktop → Gets a worktop). Kerfwise:
- joins adjacent cabinets that share a back line into one run, including under-counter appliances like the dishwasher,
- adds the front overhang (20 mm by default) and a side overhang (10 mm) only at free ends — not against a wall, a tall cabinet, the fridge or a range,
- shortens the second worktop at a corner so the two meet in a butt joint (and lists connector bolts),
- cuts a sink or hob cut-out over every cabinet whose Cut-out is set.
Select a worktop (click it in the plan) to change the material and overhangs.
5. Check the elevations and 3D
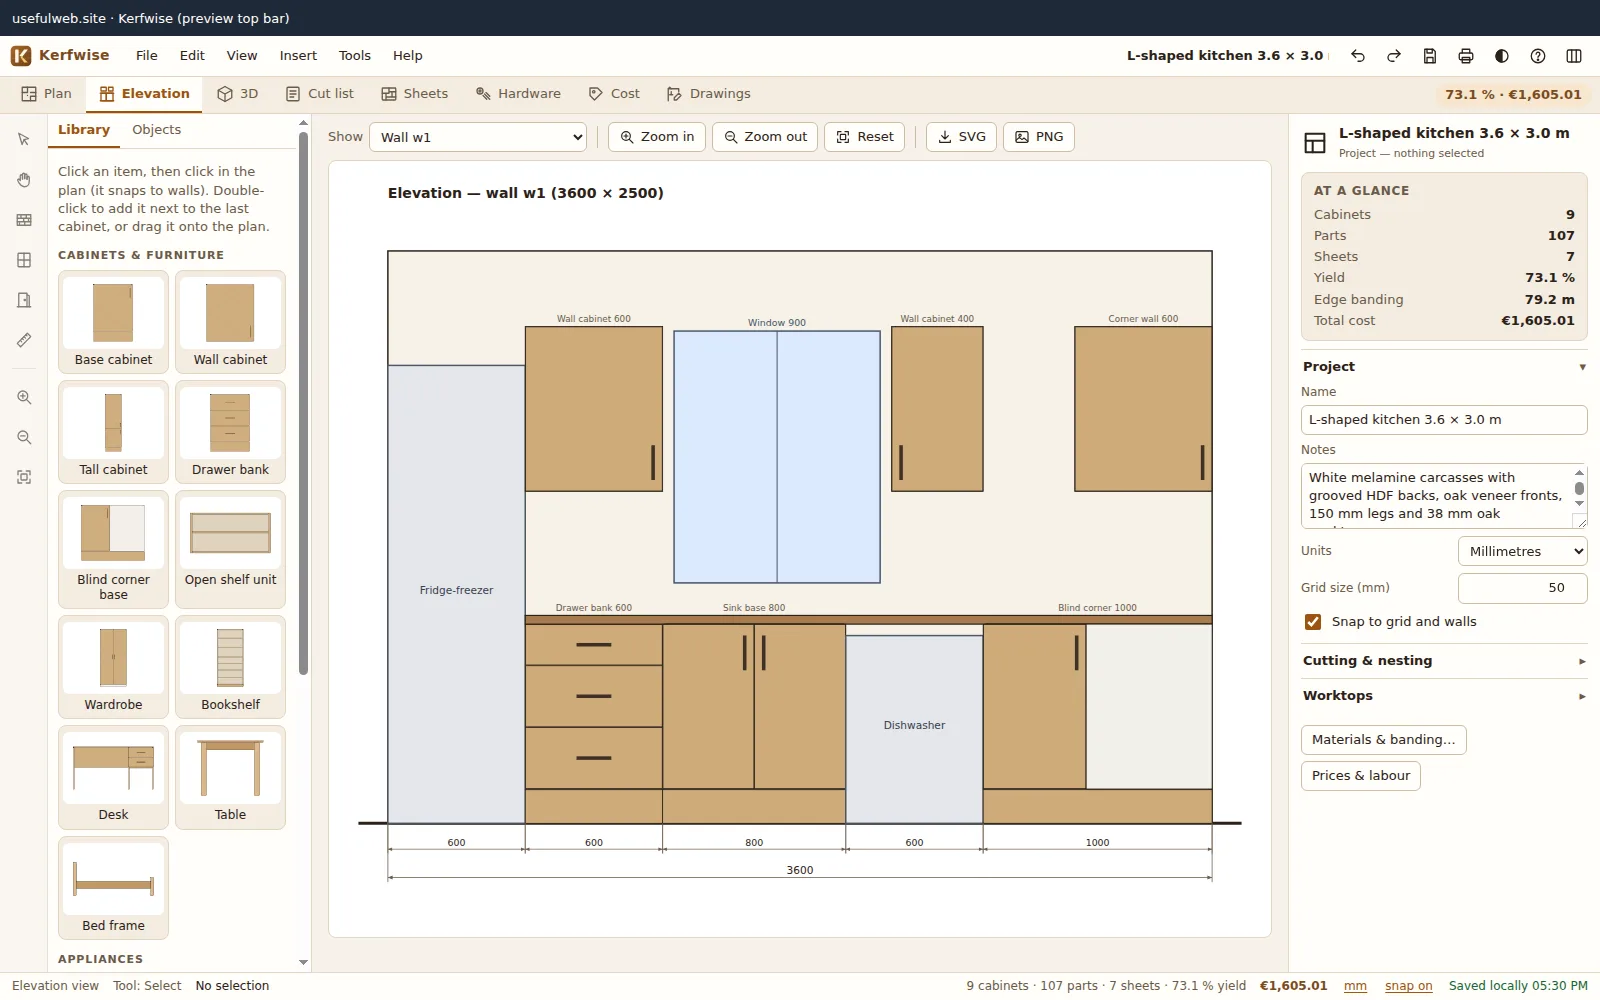
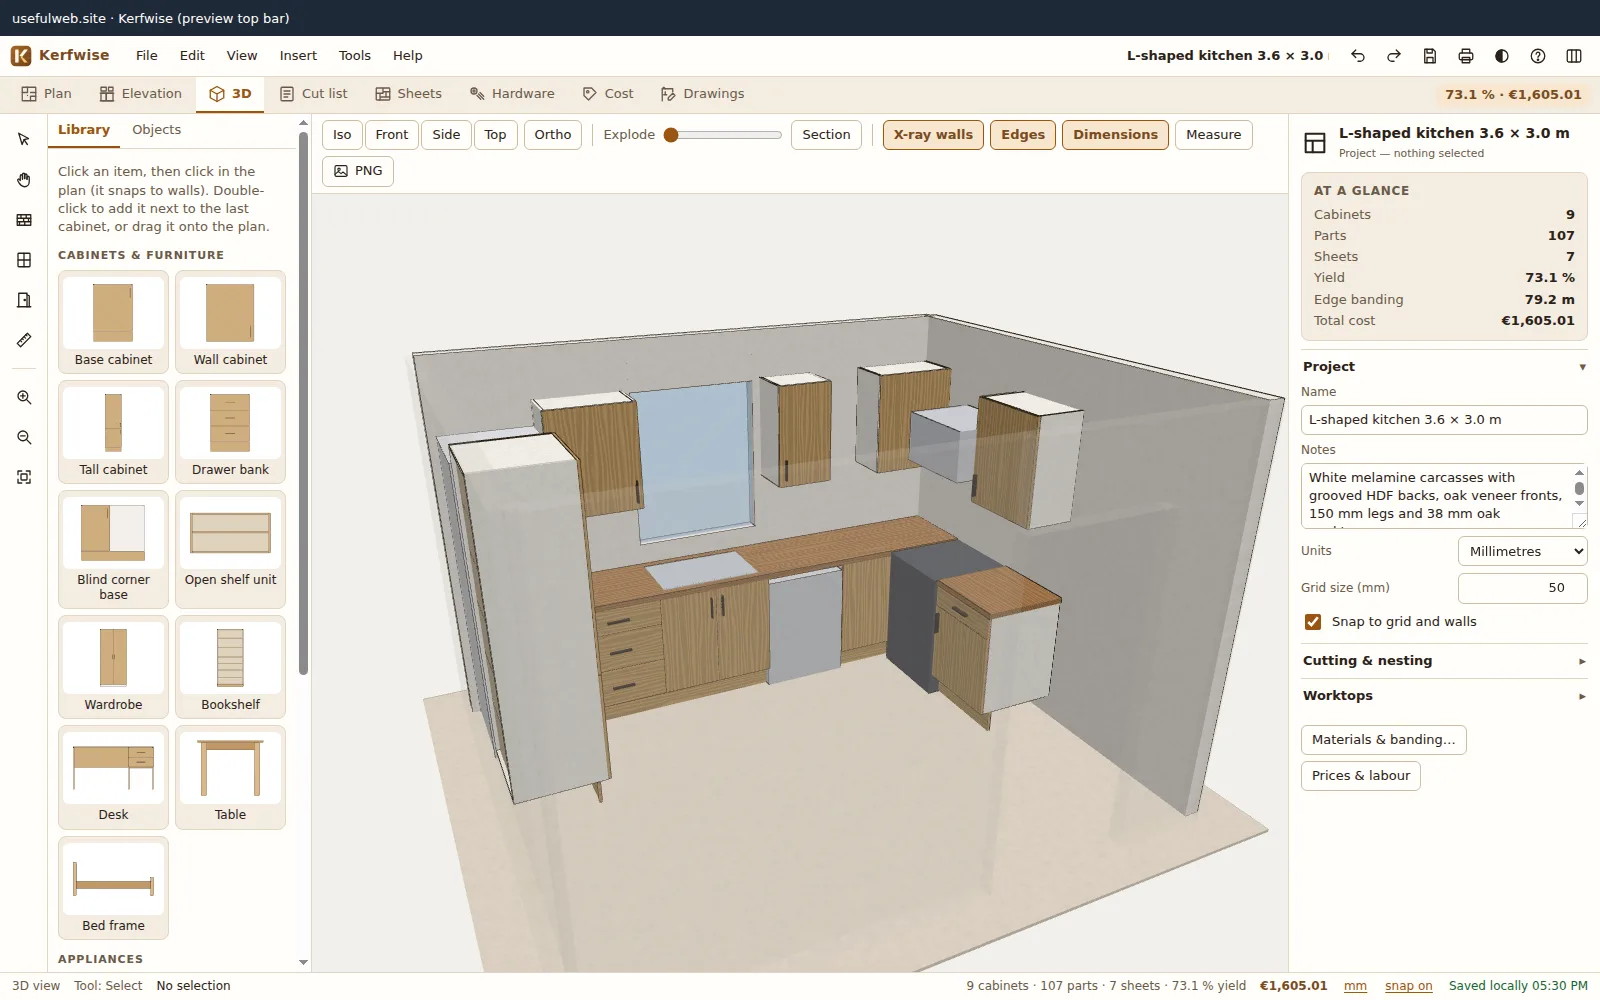
Press 2 for Elevation. Choose a wall to see cabinets, fronts, handles, worktop, windows and a dimension chain along the floor. Press 3 for the 3D view: drag to orbit, right-drag to pan, wheel to zoom. Walls between you and the kitchen turn transparent (X-ray walls).
Next: learn how joinery choices change part sizes.